
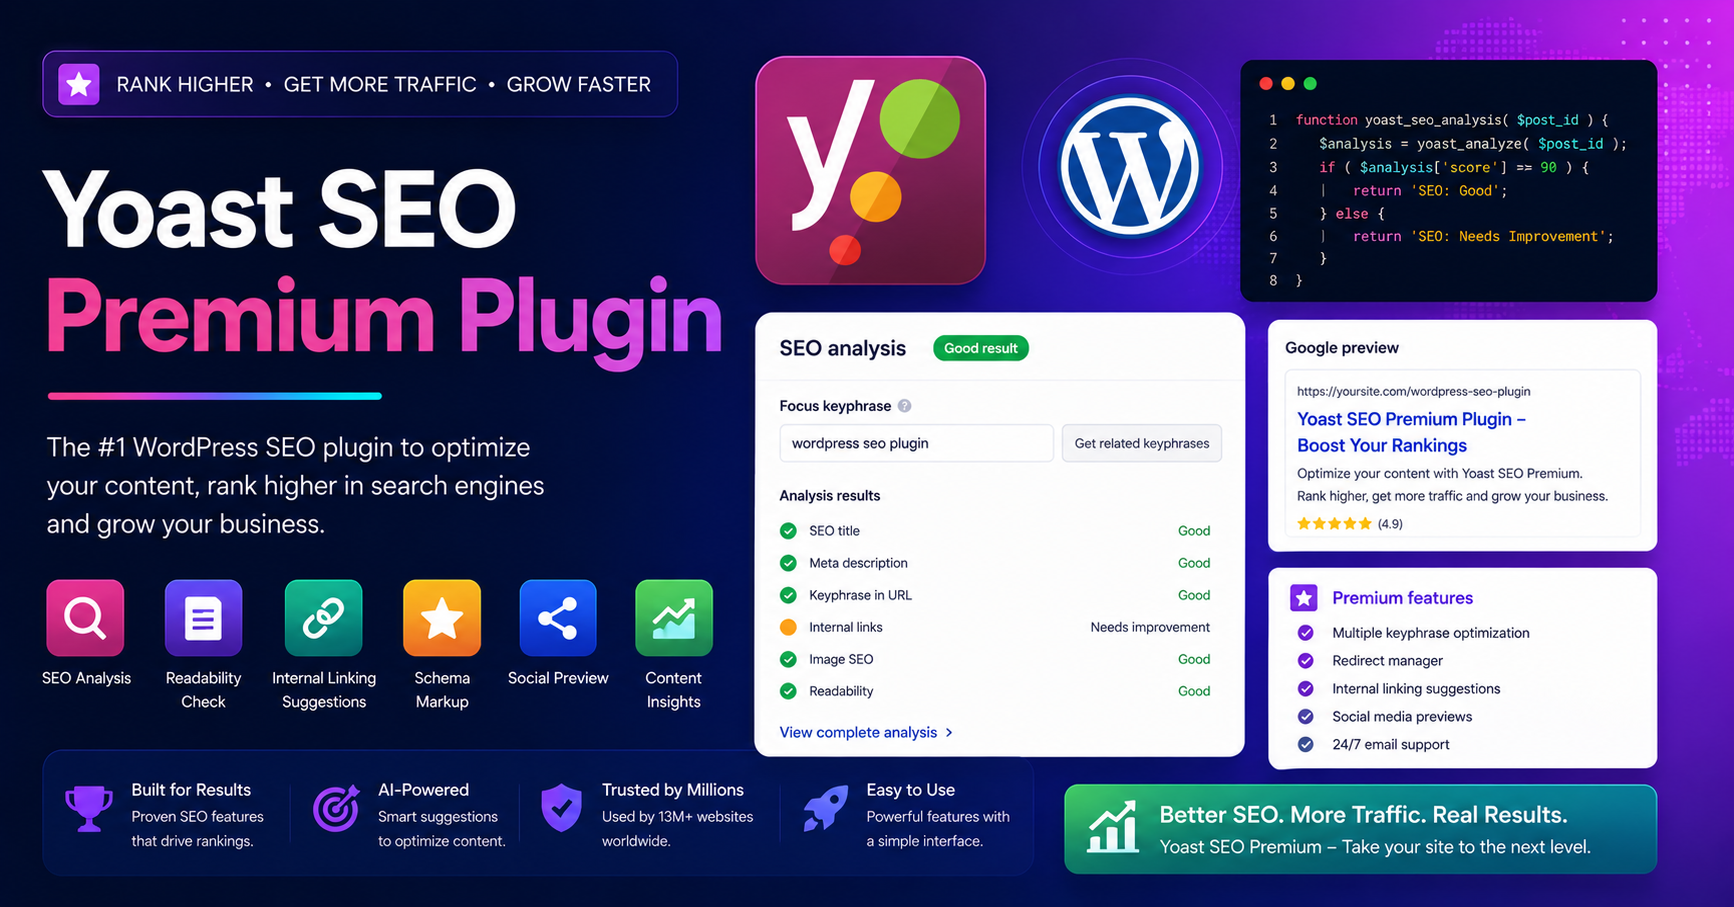
When scaling your organic search traffic, manual metadata configuration becomes a major workflow bottleneck.
While the basic version of the Yoast plugin covers standard meta tags, maximizing structural search engine visibility requires advanced indexing, automatic link auditing, and schema generation tools.
However, search optimization landscape shifts have forced many site owners to re-evaluate their platforms. To capture maximum visibility, smart publishers are comparing legacy tools against modern setups, looking to safely migrate Yoast settings to Rank Math Pro or deploy alternative light frameworks like All in One SEO (AIOSEO) and SureRank.
This comprehensive guide walks you through downloading, installing, and configuring the premium architecture to outrank your competitors quickly.
Why Upgrade Beyond the Standard Version?
The free iteration handles basic titles and descriptions, but the premium module unlocks background automation tools that directly influence how search engine crawlers process your layout.
Critical Technical Performance Enhancements:
- Multi-Keyphrase Targeting: Instead of limiting analysis to a single search phrase, optimize a single post for up to five intersecting LSI keywords and long-tail variants.
- Automatic 301 Redirect Manager: Instantly eliminates 404 errors. If you alter a published slug or change categories, the plugin writes an automatic 301 redirect to completely preserve existing backlink authority.
- Internal Linking Engine: Scans your database in real time as you write, suggesting contextually accurate anchor text links to build deep topical authority silos.
Step 1: Secure Your Premium Plugin Zip Archive
Before touching your live server settings, make sure you possess the proper file structure. The premium system functions as an advanced modular expansion, meaning it links directly with your standard database entries without wiping out your historical optimization work.
- Download the verified, original
wordpress-seo-premium.zippackage locally. - Confirm your hosting profile meets modern delivery requirements: your server should run PHP 8.1 or higher and maintain a minimum
memory_limit = 256Msetting within yourphp.inifile to easily handle deep schema indexing arrays.
Step 2: Upload and Activate inside WordPress
To integrate the premium modules cleanly, you do not need to uninstall your standard configuration. Deactivating the old setup prematurely can create temporary configuration gaps during active crawl cycles.
Visual Guide: Accessing the Plugin Uploader Screen
[IMAGE PLACEHOLDER: Real WordPress Admin Dashboard Plugin Upload Page Monitor Mockup]
Step-by-Step Installation Procedure:
- Access your WordPress administrative backend panel.
- Navigate to the left-hand menu, hover over Plugins, and click Add New Plugin.
- Locate the top header option and click the Upload Plugin button.
- Click Choose File, select the
wordpress-seo-premium.ziparchive on your local drive, and press Install Now. - Once the server unpacks the file directory successfully, click the blue Activate Plugin link.
Yoast SEO Premium vs Modern Competitor Alternatives
Before finalizing a single framework for your content properties, analyze how the premium version measures up against modern high-performance tools on the market. Selecting a lightweight Yoast alternative or moving to data-dense trackers impacts both dashboard rendering speeds and site indexing precision.
| Technical Variable | Yoast SEO Premium | Rank Math Pro | All in One SEO (AIOSEO) | SureRank Pro |
|---|---|---|---|---|
| Focus Keyword Limits | Up to 5 Keywords | Unlimited Tracking | Multi-Keyword Core | Content Gap Tracking |
| Redirect Automation | Yes (Instant 301) | Yes (with 404 Logging) | Yes (Trash Tracking) | Yes (Advanced Rules) |
| On-Page Evaluation | Readability/Traffic Lights | 0–100 Checklist Score | TruSEO Metric Engine | 100-Point Smart Score |
| Schema Generation | Fixed Schema Graph | Advanced Custom Builder | Rich Snippet Blocks | Pre-configured Defaults |
| Licensing Framework | Strict Per-Site Fee | Multi-Site Personal Plans | Tiered Agency Packages | Agency Bundles |
Step 3: High-Performance Configuration for Faster Rankings
Once active, skip the default setup loops and manually configure the primary power settings to maximize search signal delivery immediately.
1. Hardening the Automated Redirect Module
Navigate to SEO > Redirects. Verify that the automated redirect warning engine is turned on. This ensures that any future content pruning, URL consolidation, or keyword updates map perfectly across the site without leaking domain authority into 404 error drops.
2. Tuning Advanced XML Content Sitemaps
Go to SEO > General > Features and ensure XML Sitemaps are active. The premium layout segments your custom post types, categories, and image paths cleanly. This structural optimization ensures Google’s search bots crawl high-value money pages first, with zero wasted crawl budgets on tracking duplicate or utility page elements.
Confirming Index Readiness and Final Inspection
To confirm the premium engine is fully active, launch your post editor or open an existing article. Scroll past the primary content canvas down to the main optimization workspace box.
You should see the extended interface dashboard presenting multi-keyword analysis slots, dedicated social sharing card previews (for adjusting click-through appearance on Facebook and X/Twitter), and live internal link indexing recommendations.
Keep these optimization parameters active, stick tightly to high-intent long-tail keywords, and use your search console tracking dashboard to monitor your fast-climbing keyword ranks.